🐱 Quick Reference Guide

Lynx Flexi
Printing Tips

Everything you need to print your Lynx Flexi — from slicer settings to colours and customisation.

Lynx Flexi Fidget Toy
View on Patreon →
📦 What's Included ⚙️ Settings 🎨 Filaments ✏️ Customize
📁

Files & Parts

  • 2 STL Files — Lynx flexi in 2 ear variants
  • 2 Keychain STL Files — same ear variants in a keychain version 🔑
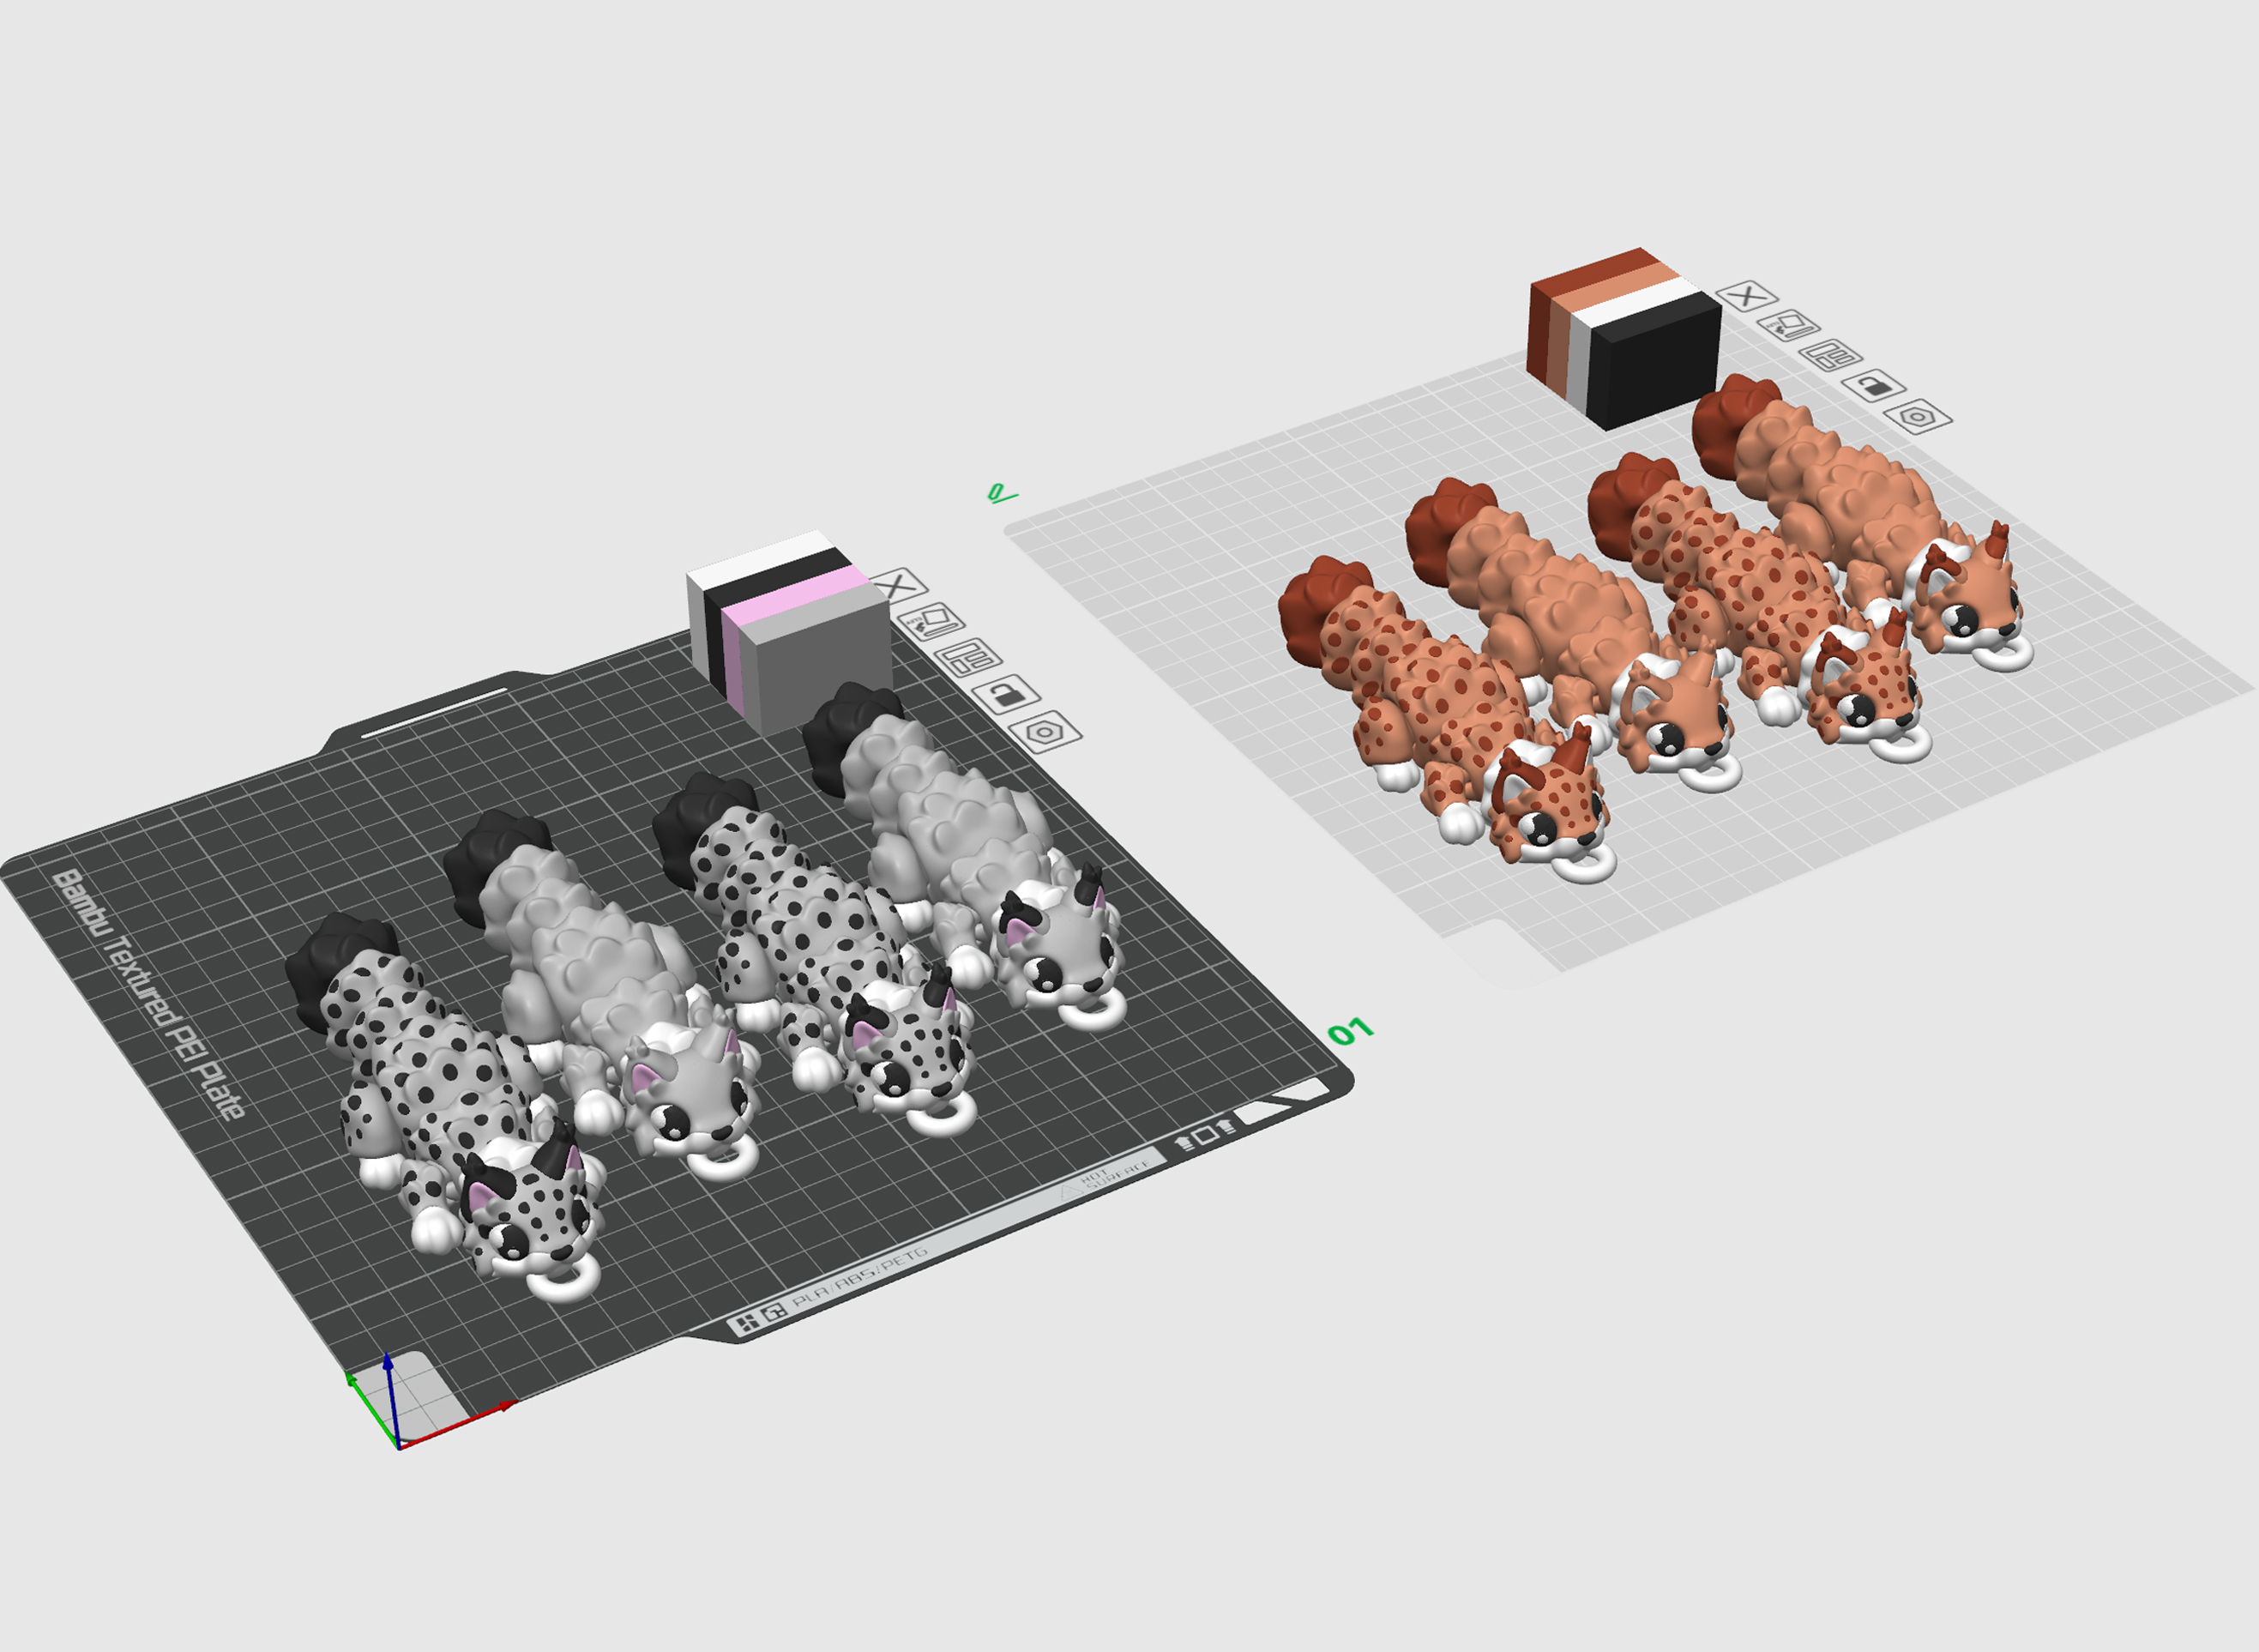
  • 1 3MF File — full-size Lynx, pre-arranged with multiple colour options ready to slice (works for both ear versions)
  • 1 Keychain 3MF File — keychain version, also pre-set with colour options for both ear variants
Lynx Flexi
Click to enlarge
Lynx Flexi Keychain
Click to enlarge
⚙️

Printing Settings

Layer
0.16 mm
Infill
15% — Gyroid
Walls
2 Loops
Material
Basic PLA
Supports
❌ None needed
Scale
Tested down to 60%
🎨

Filaments Used

Bambu Lab Basic PLA
Black  White
Polymaker Polyterra PLA
Pink  Earth Brown
Panchroma PLA Celestial
White
Cookiecad PLA
Yellow Elixir
Ziro PLA
Twinkling Purple
💡 Any standard PLA works. Open the 3MF file in your slicer and match each colour slot to your filament to get clean, accurate multicolour print results.
🎨

Editing Colours & Parts

  • You can safely scale this model down to 60%
💡 Printing smaller or using a softer PLA (like Eco PLA or Polyterra)? Increase wall loops from 2 → 3 and infill from 15% → 30% — softer and smaller prints need the extra structure to keep the joints from being too floppy.
  • Use the 3MF file in your slicer to edit colours and parts
  • The model is pre-split into separate parts — clean colour edges and no dirty colour bleed on top surfaces
  • Make sure to assign colours to each part correctly before you slice
  • You can delete or slightly rescale the lynx's spots, eyes, pupils, eye glares, nose and ears as you wish
💡 New to multi-colour? Click each part in your slicer and assign it a filament slot. The 3MF already has suggested colours.

👉 How to edit the 3MF file →
Happy Printing! 🐥