🦆 Quick Reference Guide

Mallard Flexi
Printing Tips

Everything you need to print your Mallard Flexi — from slicer settings to colours and customisation.

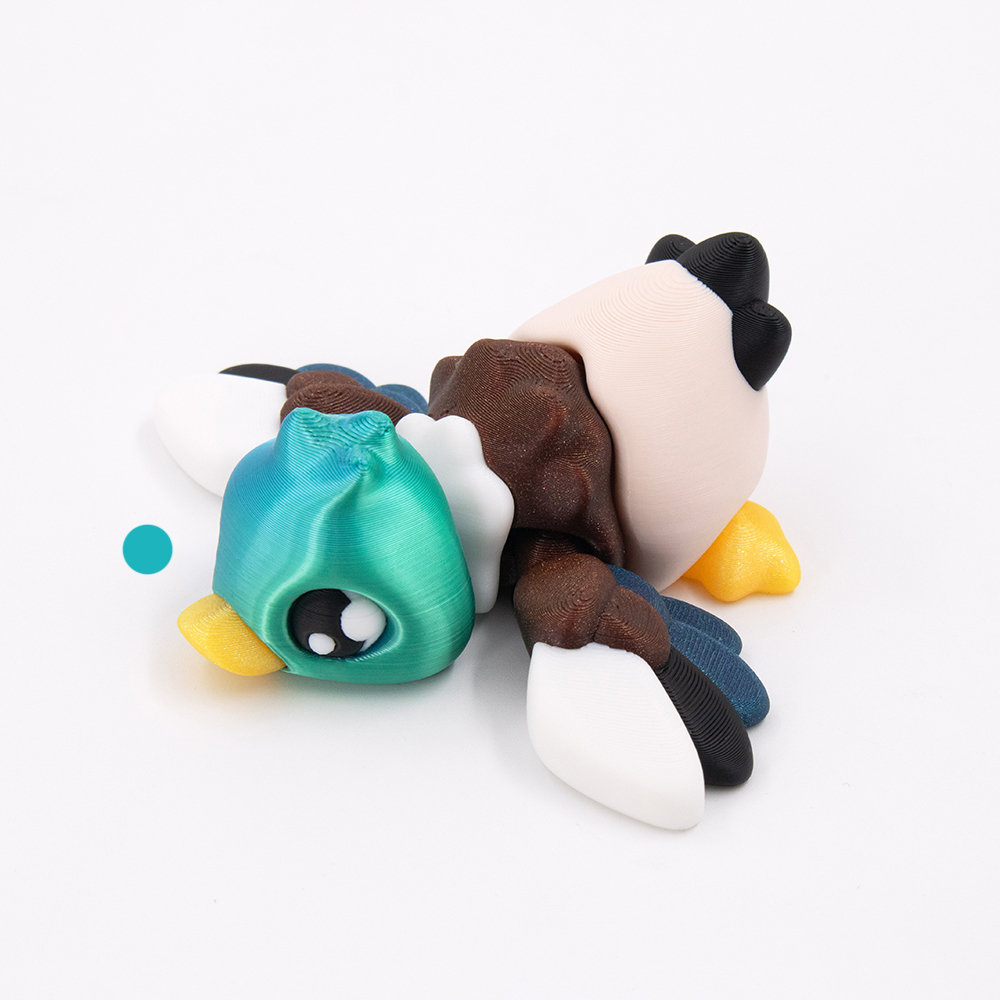
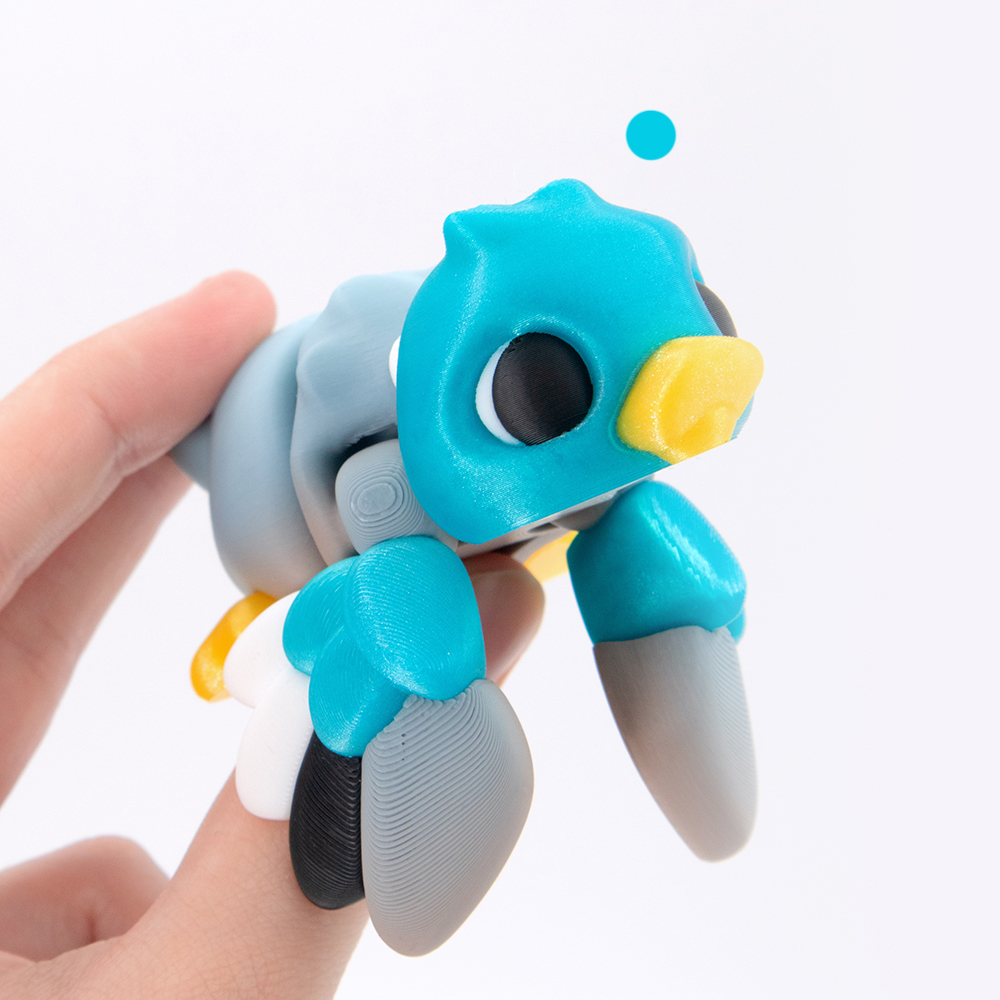
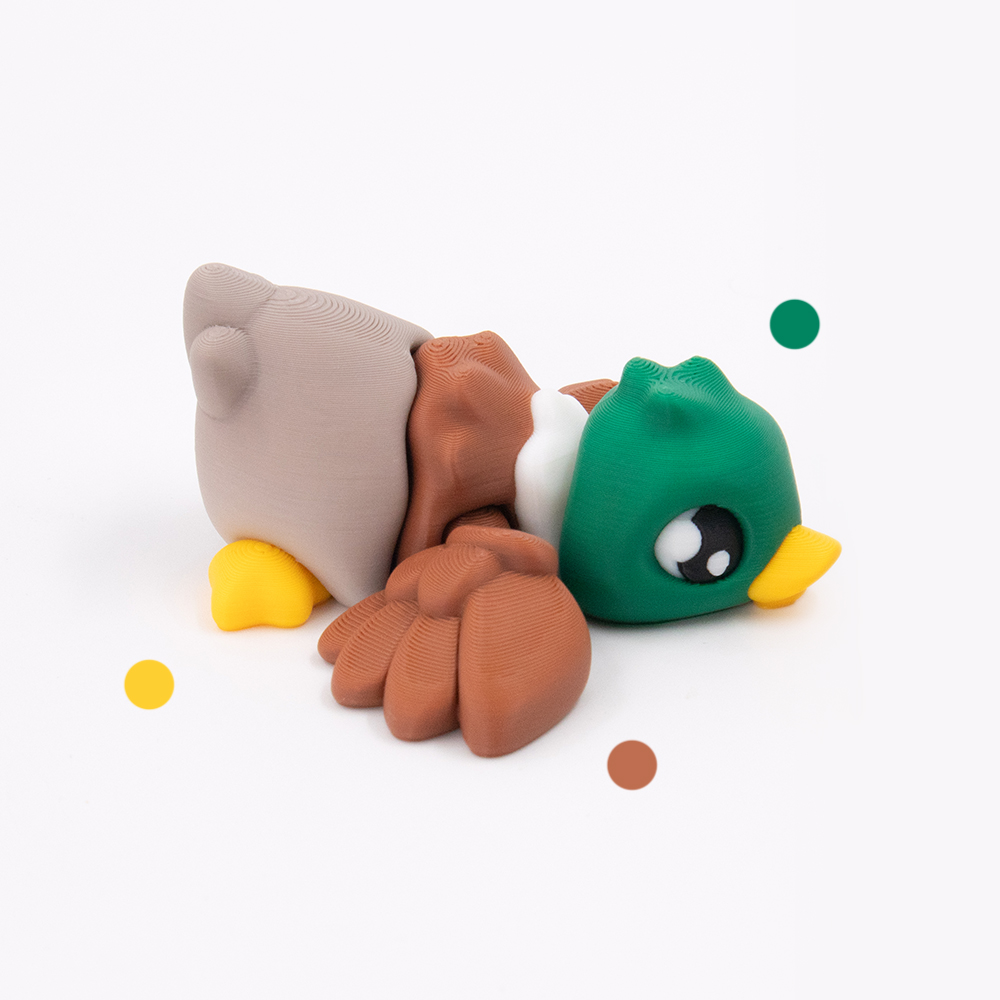
Mallard Flexi – kawaii articulated duck 3D print
View on Patreon →
📦 What's Included ⚙️ Settings 🎨 Filaments ✏️ Customise 🔗 Useful Links
📁

Files & Parts

  • 2 STL Files — Plain Mallard & Mallard with Bow
  • 2 Keychain STL Files — keychain versions of both variants 🔑
  • 1 3MF File — 4 colour presets ready to slice  ▾ preview
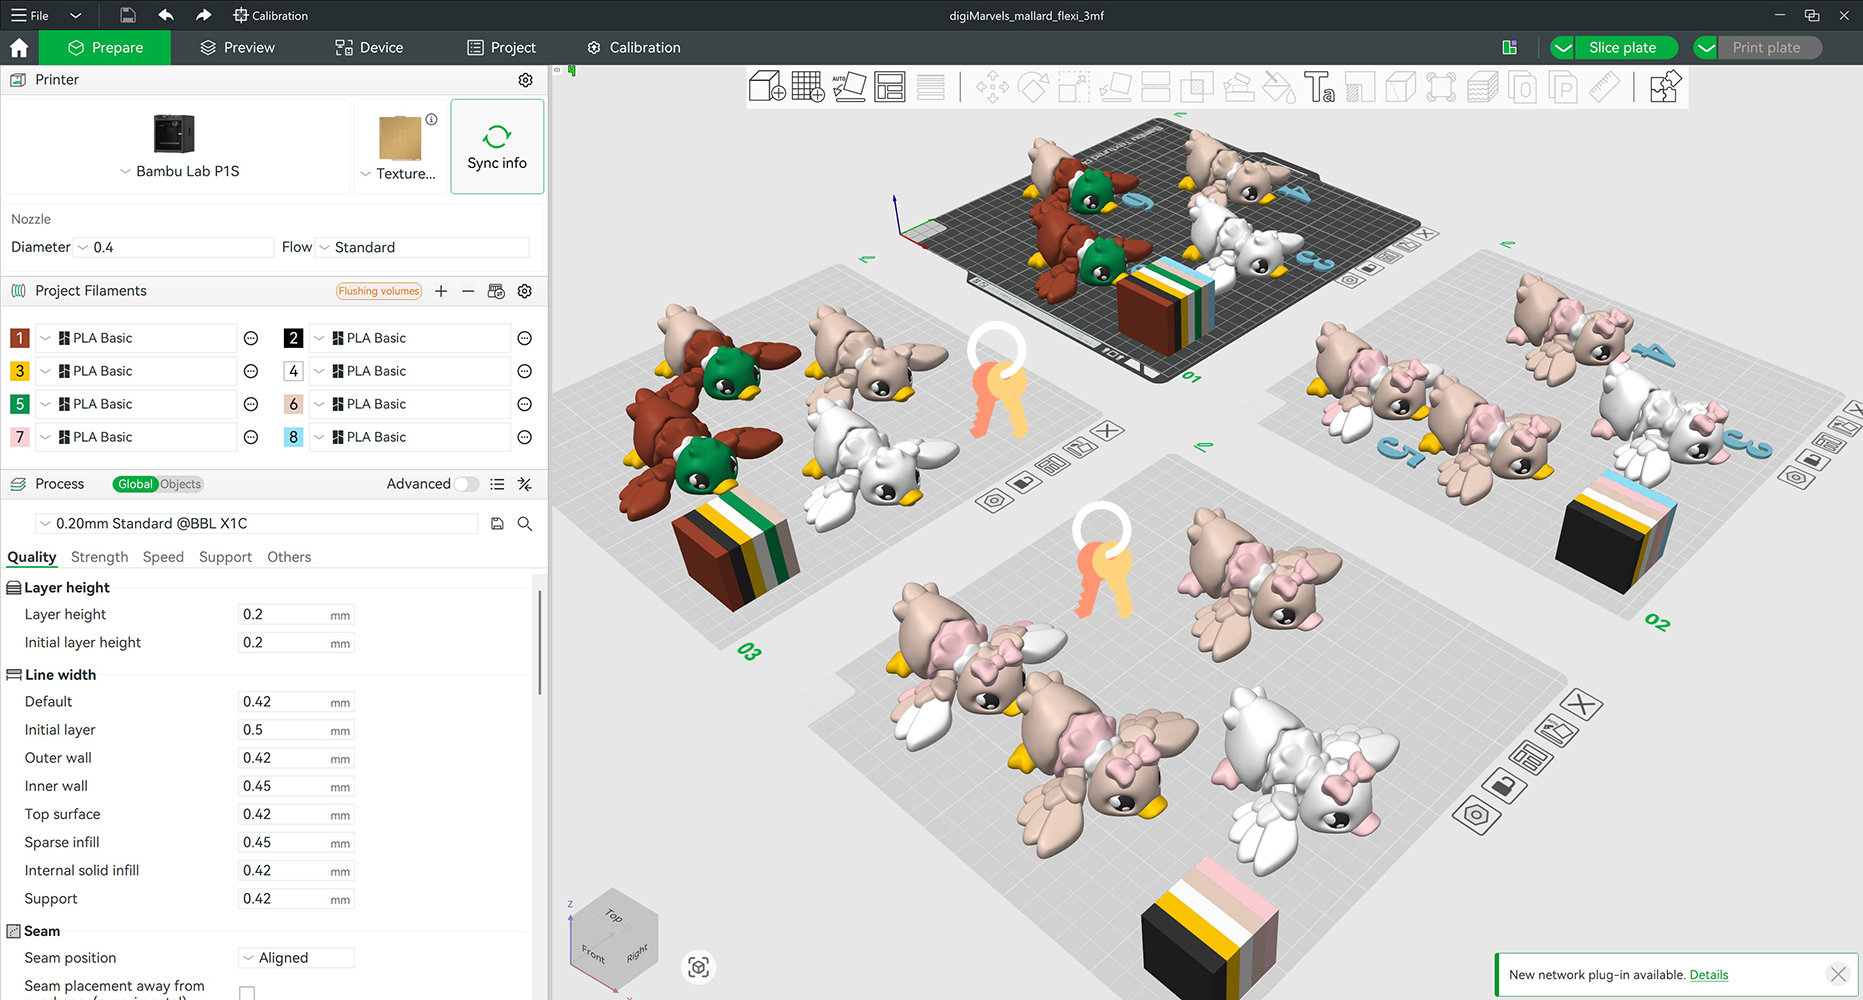
3MF layout preview — Mallard Flexi colour presets arranged in slicer
Click to enlarge
💡 No assembly required — the flexi joints print in place. Just peel it off the bed and start wiggling!
⚙️

Printing Settings

Layer
0.16 mm
Infill
15% — Gyroid
Walls
2 Loops
Material
Basic PLA
Supports
None needed
Brims
None needed
Scale
Tested down to 60%
🤏 Printing smaller or at 60%? tap to expand
Increase wall loops from 2 → 3 and infill from 15% → 30% — smaller prints need extra structure to keep the joints from being too floppy. Using a softer PLA (Eco PLA, Polyterra)? Same advice applies.
🎨

Filaments Used

Bambu Lab Basic PLA ▾ preview
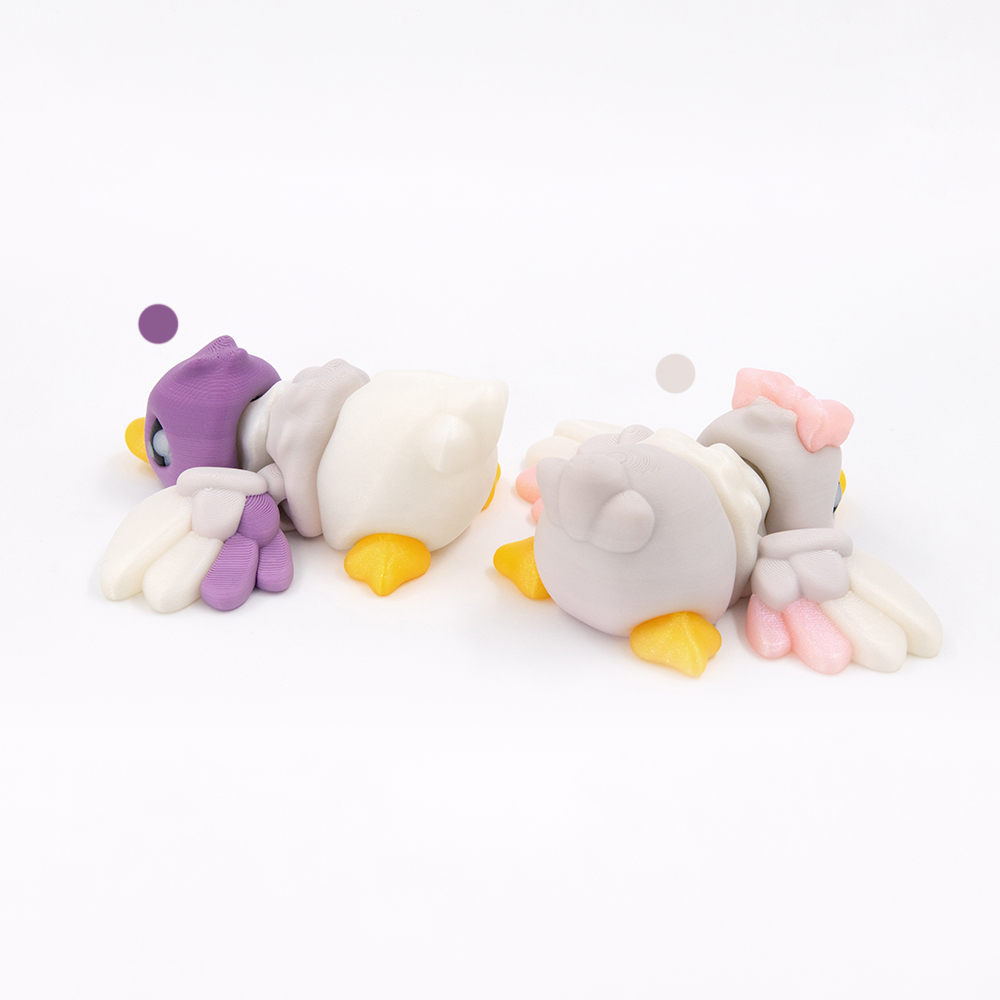
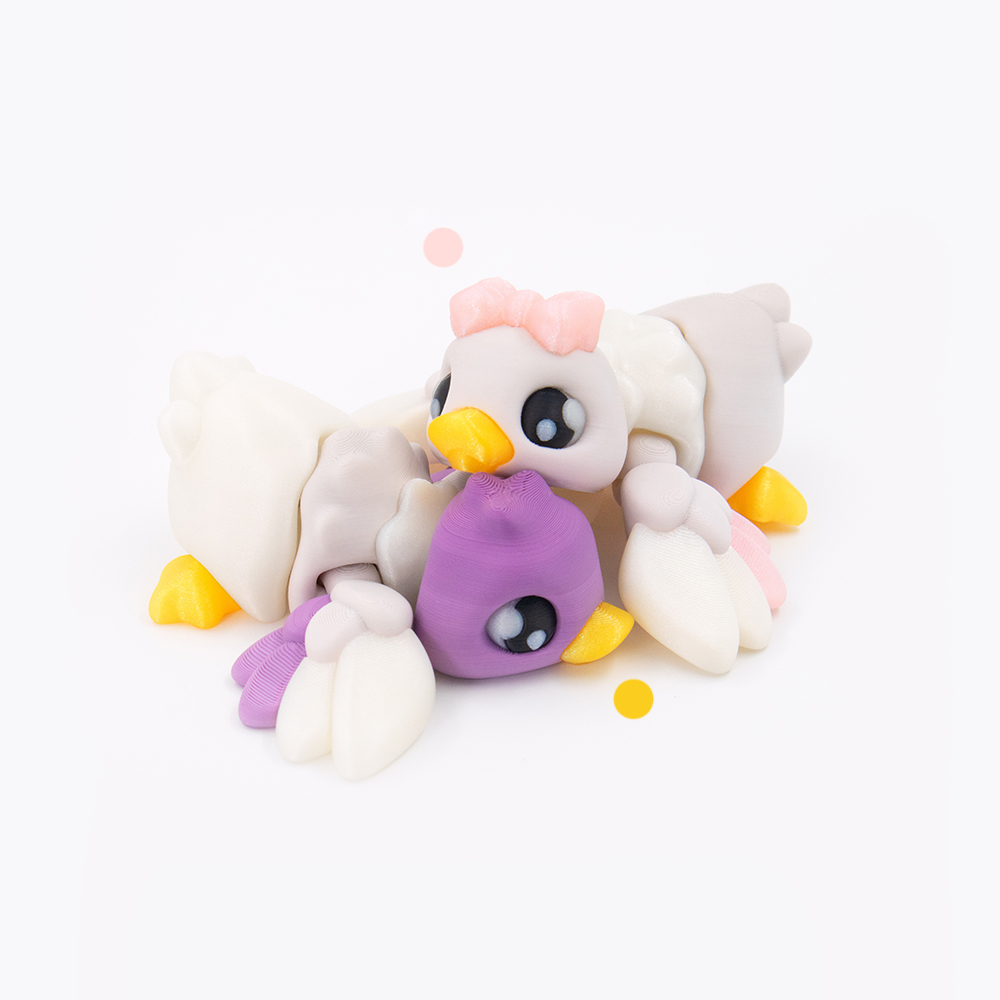
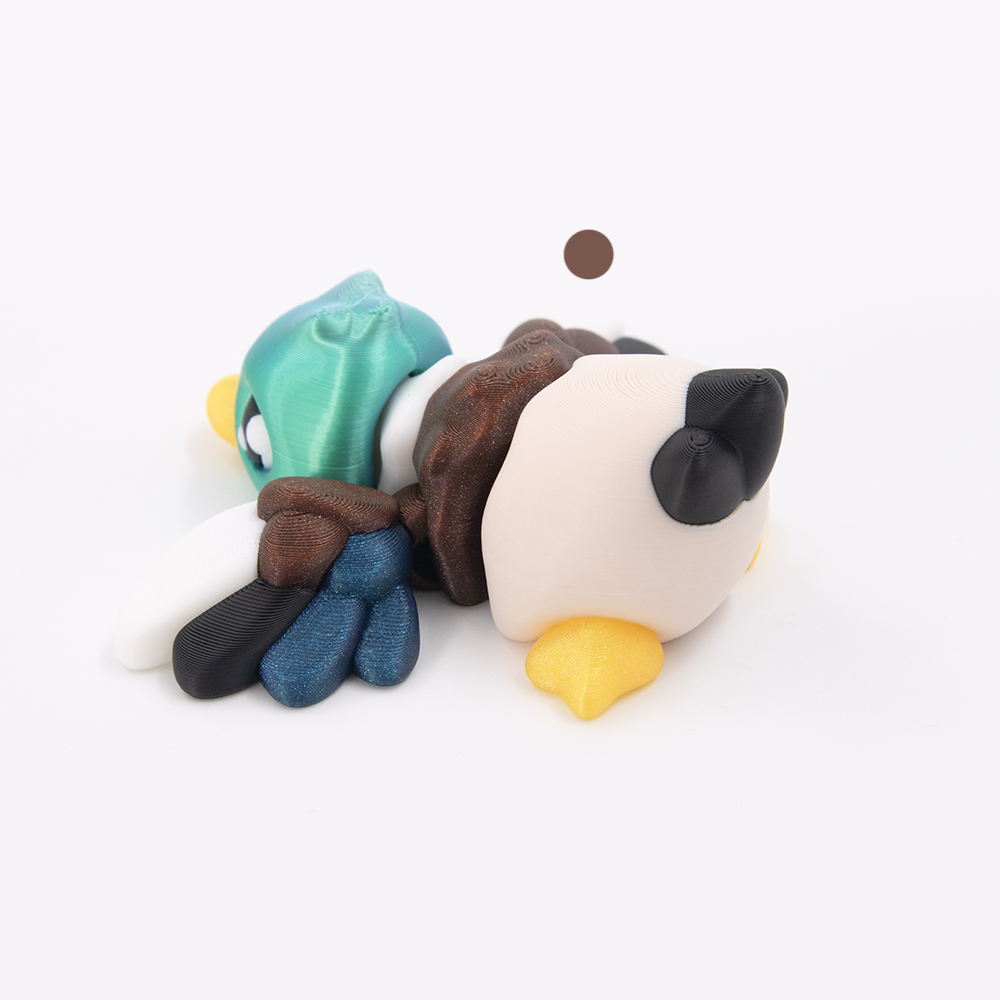
Black White Beige Brown Mistletoe Green Sunflower Yellow
Bambu Lab Basic PLA — Mallard Flexi print preview
Enlarge
Ziro Matte Rainbow PLA ▾ preview
Drift Feather Purple Veil
Ziro Matte Rainbow PLA — Mallard Flexi print preview
Enlarge
Cookiecad Elixir PLA ▾ preview
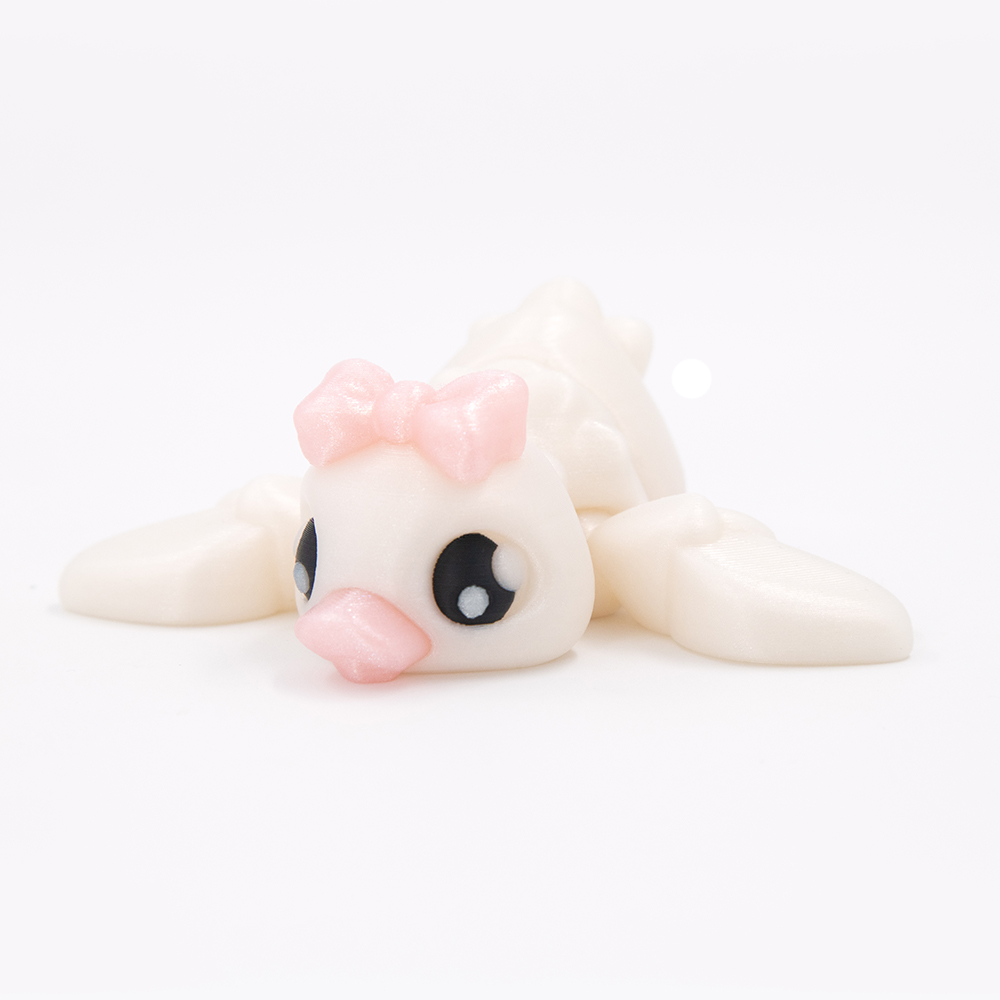
Pale Pink Solar Flare
Cookiecad Elixir PLA — Mallard Flexi print preview
Enlarge
Bambu Lab Galaxy PLA ▾ preview
Brown
Bambu Lab Galaxy PLA — Mallard Flexi print preview
Enlarge
Polymaker Panchroma Celestial ▾ preview
White
Polymaker Panchroma Celestial — Mallard Flexi print preview
Enlarge
Polymaker PolyLite Dual Silk PLA ▾ preview
Caribbean
Polymaker PolyLite Dual Silk PLA — Mallard Flexi print preview
Enlarge
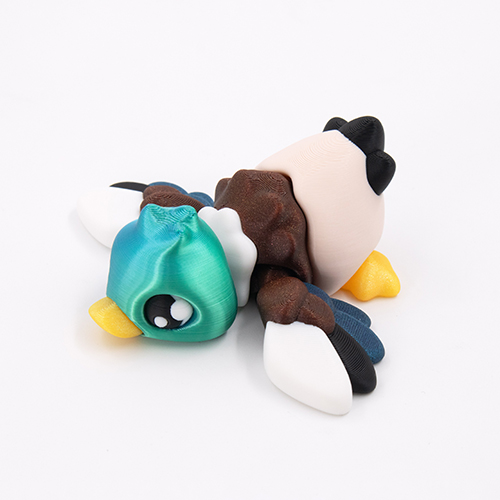
Protopasta HTPLA ▾ preview
Glitter's Mane Teal
Protopasta HTPLA — Mallard Flexi print preview
Enlarge
✨ Want a shinier finish? tap to expand
Decrease your outer wall printing speed to 60 mm/s or below — slower speeds give the surface more time to settle smoothly.
🎨

Editing Colours & Parts

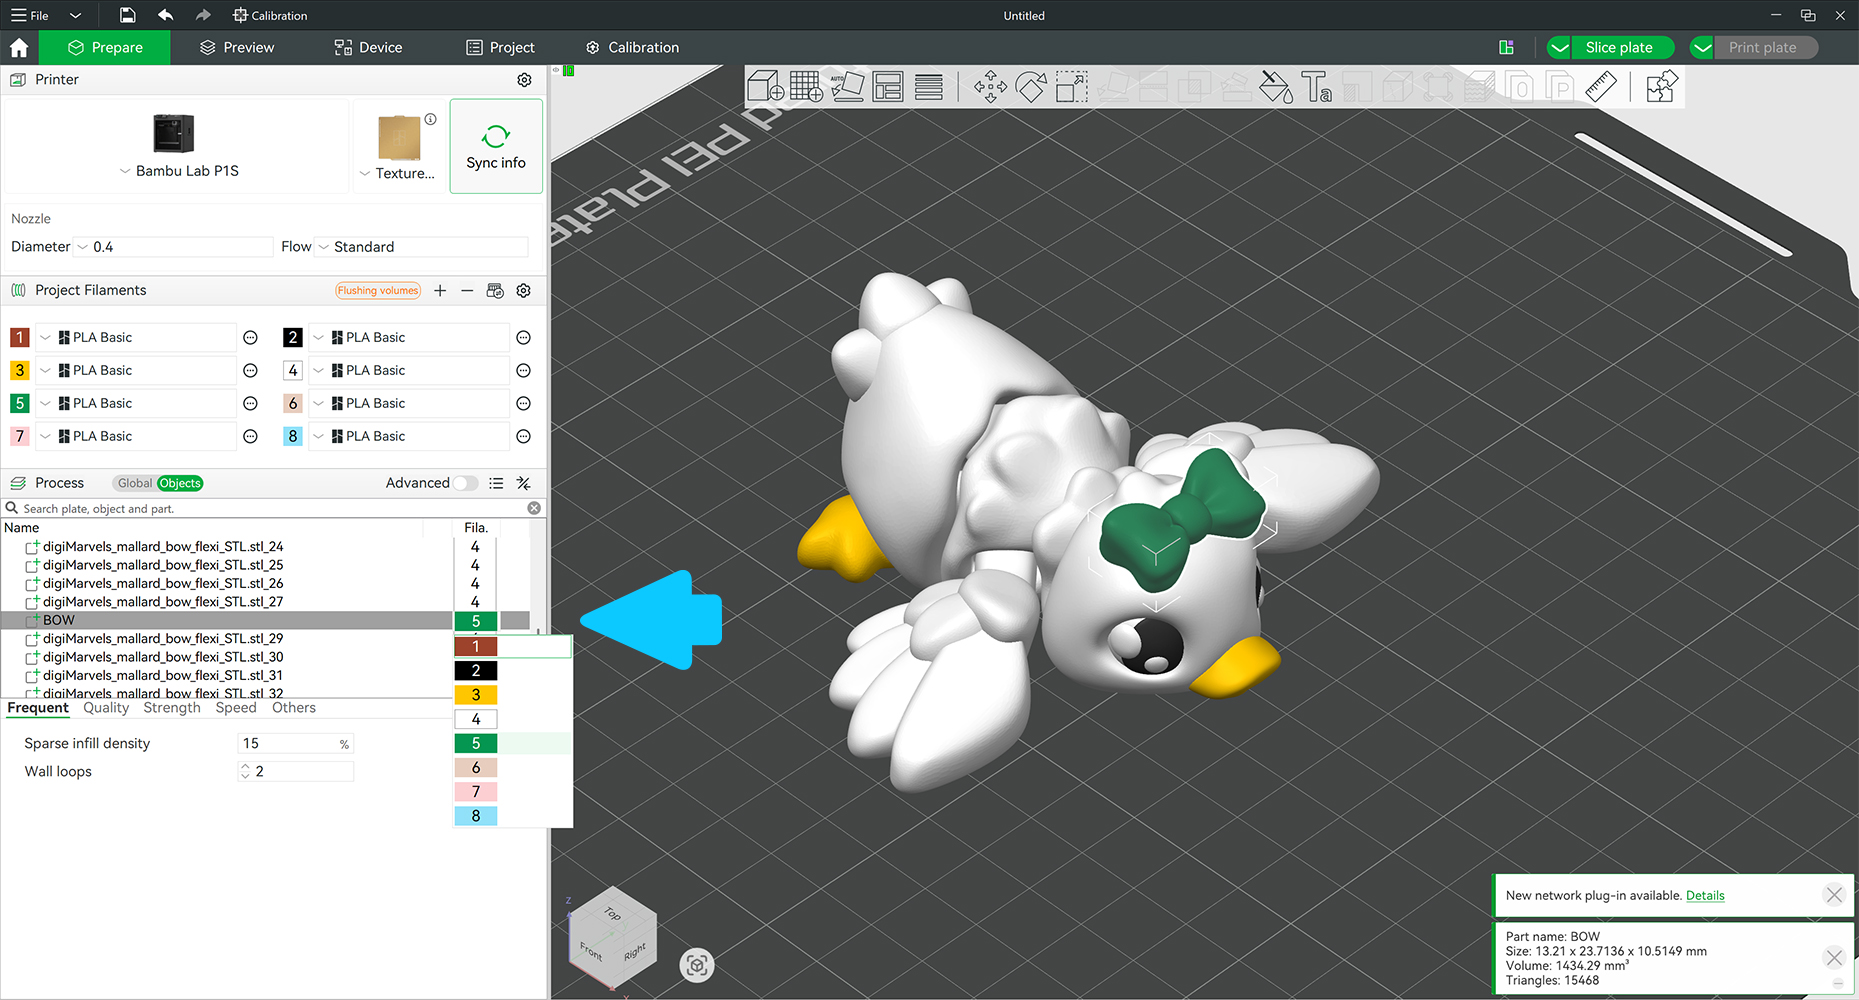
  • Load the 3MF — parts are already split and colour-coded, ready to slice
  • To recolour: Alt + click a part → press the filament slot number on your keyboard (1, 2, 3…) — or select it from the filament list in Object Mode  ▾ preview
Duck 3MF object list in slicer — Object Mode view
Enlarge
  • Optional parts — recolour or delete any of these: bow · tail · pupils · eye glares
  • Can be scaled up or down slightly if needed
Don't use the Fill tool as it may cause messy colour edges.

👉 Full 3MF guide →
Happy Printing! 🦆