🐰 Quick Reference Guide

Bunny Wagashi
Printing Tips

Everything you need to print and assemble your Bunny Wagashi clicker.

Bunny Wagashi Clicker – kawaii fidget clicker 3D print
View on Patreon →
📦 What's Included ⚙️ Settings 🎨 Filaments ✏️ Customize 🔗 Useful Links
📁

Files, Switch & Assembly

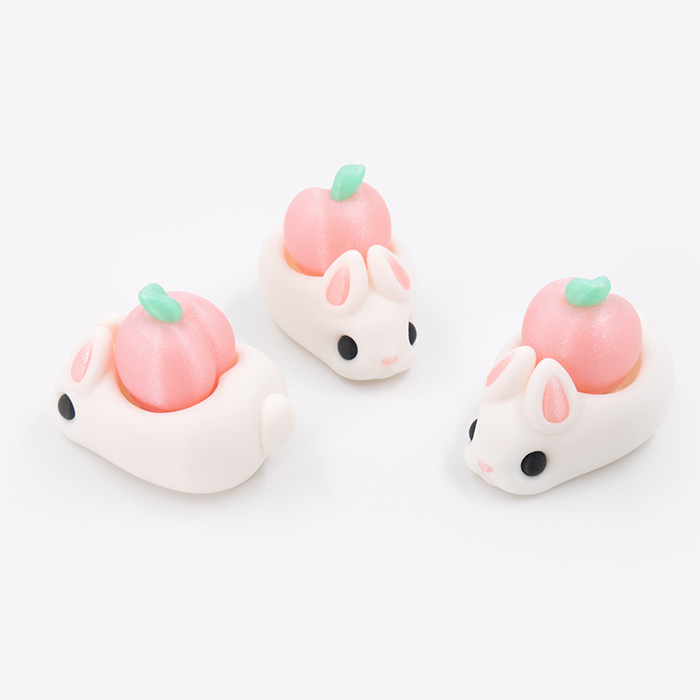
💡 New to printing fidget clickers? This clicker is made of 2 parts. Pick your Bunny Base (Plain or Keychain) and your Cap (Peach, Cherry, Strawberry, or Tangerine) — then print, assemble, and click!
⌨️ Keyboard switch required tap to expand
You'll need a mechanical keyboard switch — it's what creates the click.
Tested switches: Kailh BOX White (crisp, loud), BOX Jade (crunchier, louder), BOX Brown (quiet).
Bunny Base — 4 STL files · holds the keyboard switch · both bases also come as keychains
🐰 Bunny Base 🐰 Bunny Base (Only for Peach cap) 🔑 Bunny Base Keychain 🔑 Bunny Base Keychain (Peach cap)
Caps — 4 STL files · keyboard switch cap (presses onto the switch stem)
🍑 Peach 🍒 Cherry 🍓 Strawberry 🍊 Tangerine
1 3MF File — pre-arranged with colour assignments  ▾ preview
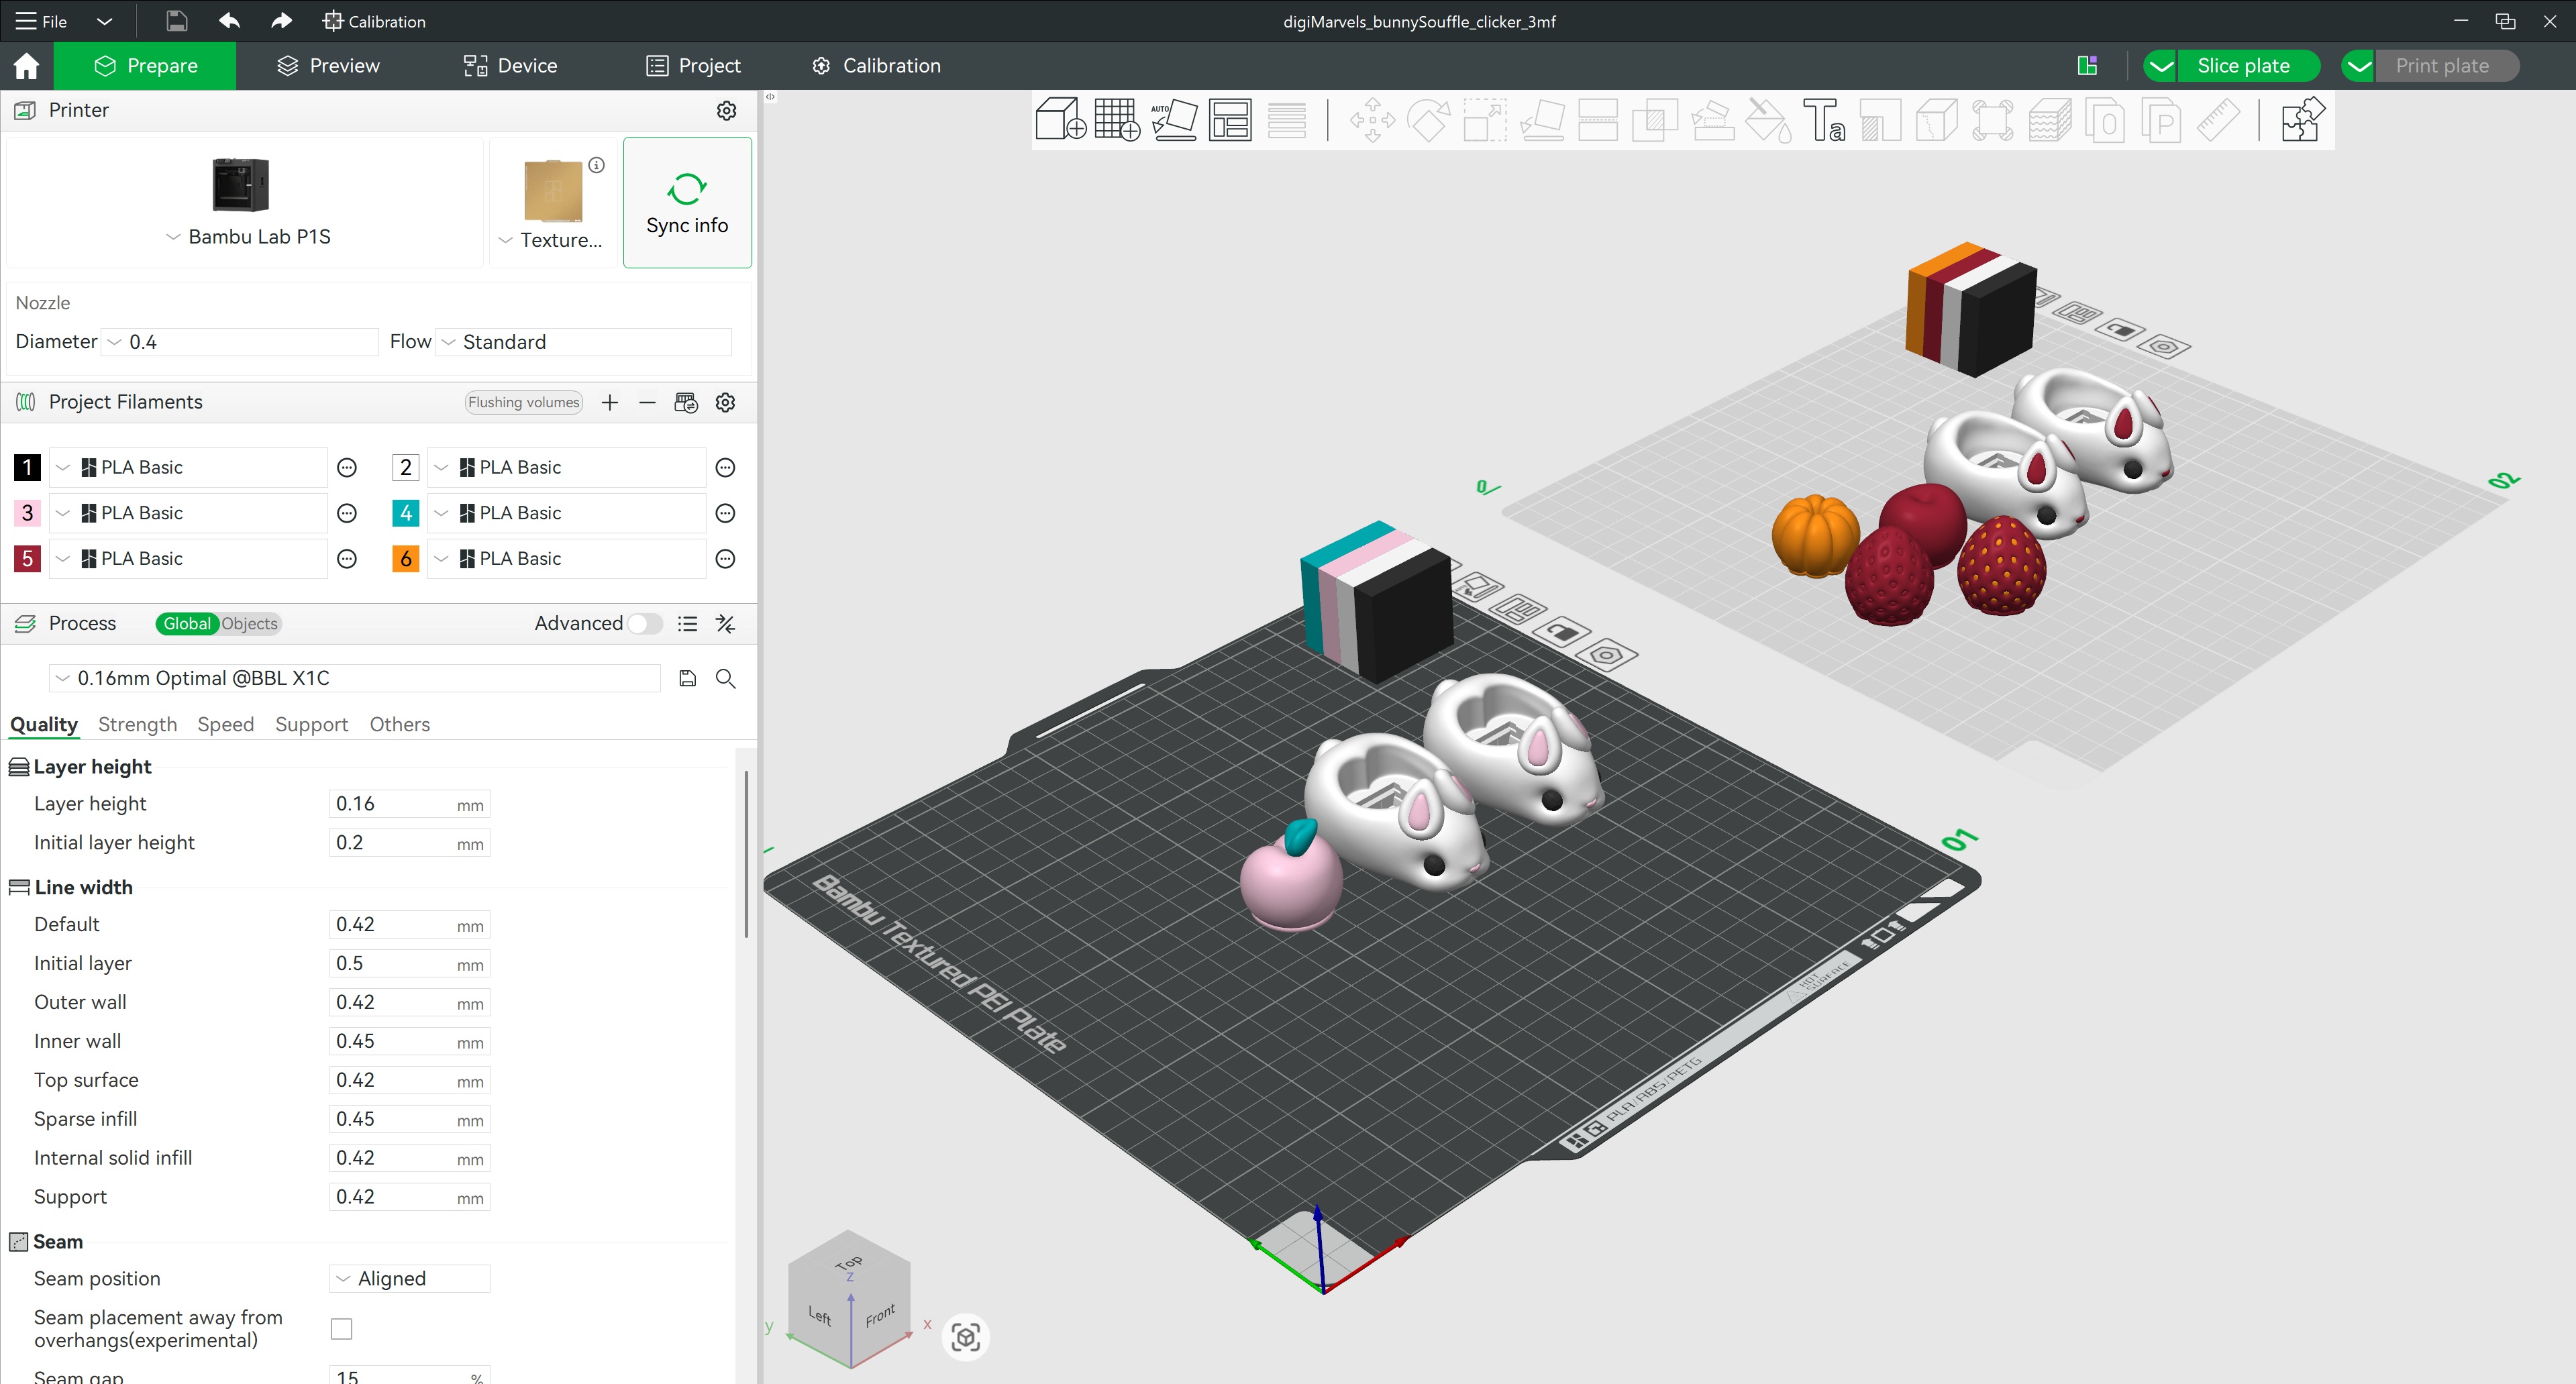
3MF layout preview — Bunny Wagashi Clicker parts arranged in slicer
Click to enlarge
🍭 Assembly steps tap to expand
1. Add one drop of super glue into the switch hole inside the Bunny Base
2. Insert the switch into the Bunny Base, aligning the pins to the holes
3. Add one drop on top of the keyboard switch stem
4. Press the Cap onto the switch stem
⚙️

Printing Settings

Layer
0.16 mm
Infill
15% — Gyroid
Walls
2 Loops
Material
Basic PLA
Supports
Not required
Brims
Not required
🪲 Part lifting off the bed? tap to expand
Add Brim Ears to the part or/and increase the bed temperature by 5+ °C.
🎨

Filaments Used

Cookiecad Elixir PLA
Pale Pink Solar Flare Mint Green
Ziro Gradient Twinkling PLA
Lavender
Bambu Lab Basic PLA
White
✨ Want a shinier finish? tap to expand
Decrease your outer wall printing speed to 60 mm/s or below — slower speeds give the surface more time to settle smoothly.
🎨

Editing Colours & Parts

⚠️ Do not scale the model — clickers are not suitable for scaling, it will break the fit between parts and the switch won't seat correctly.
  • Open the 3MF file — parts are pre-separated with suggested colours
  • Assign filament slots to each part, then slice
🤔 Not sure how to edit the 3MF? There is a step-by-step guide for you. See guide →
Happy Printing! 🐰