🧁 Quick Reference Guide

Kawaii Mochi
Printing Tips

Everything you need to print and assemble your clicky mochi — from slicer settings to customisation.

Kawaii Mochi Clicker – kawaii animal fidget clicker 3D print
View on Patreon →
📦 What's Included ⚙️ Settings 🎨 Filaments ✏️ Customize 🔗 Useful Links
📁

Files, Switch & Assembly

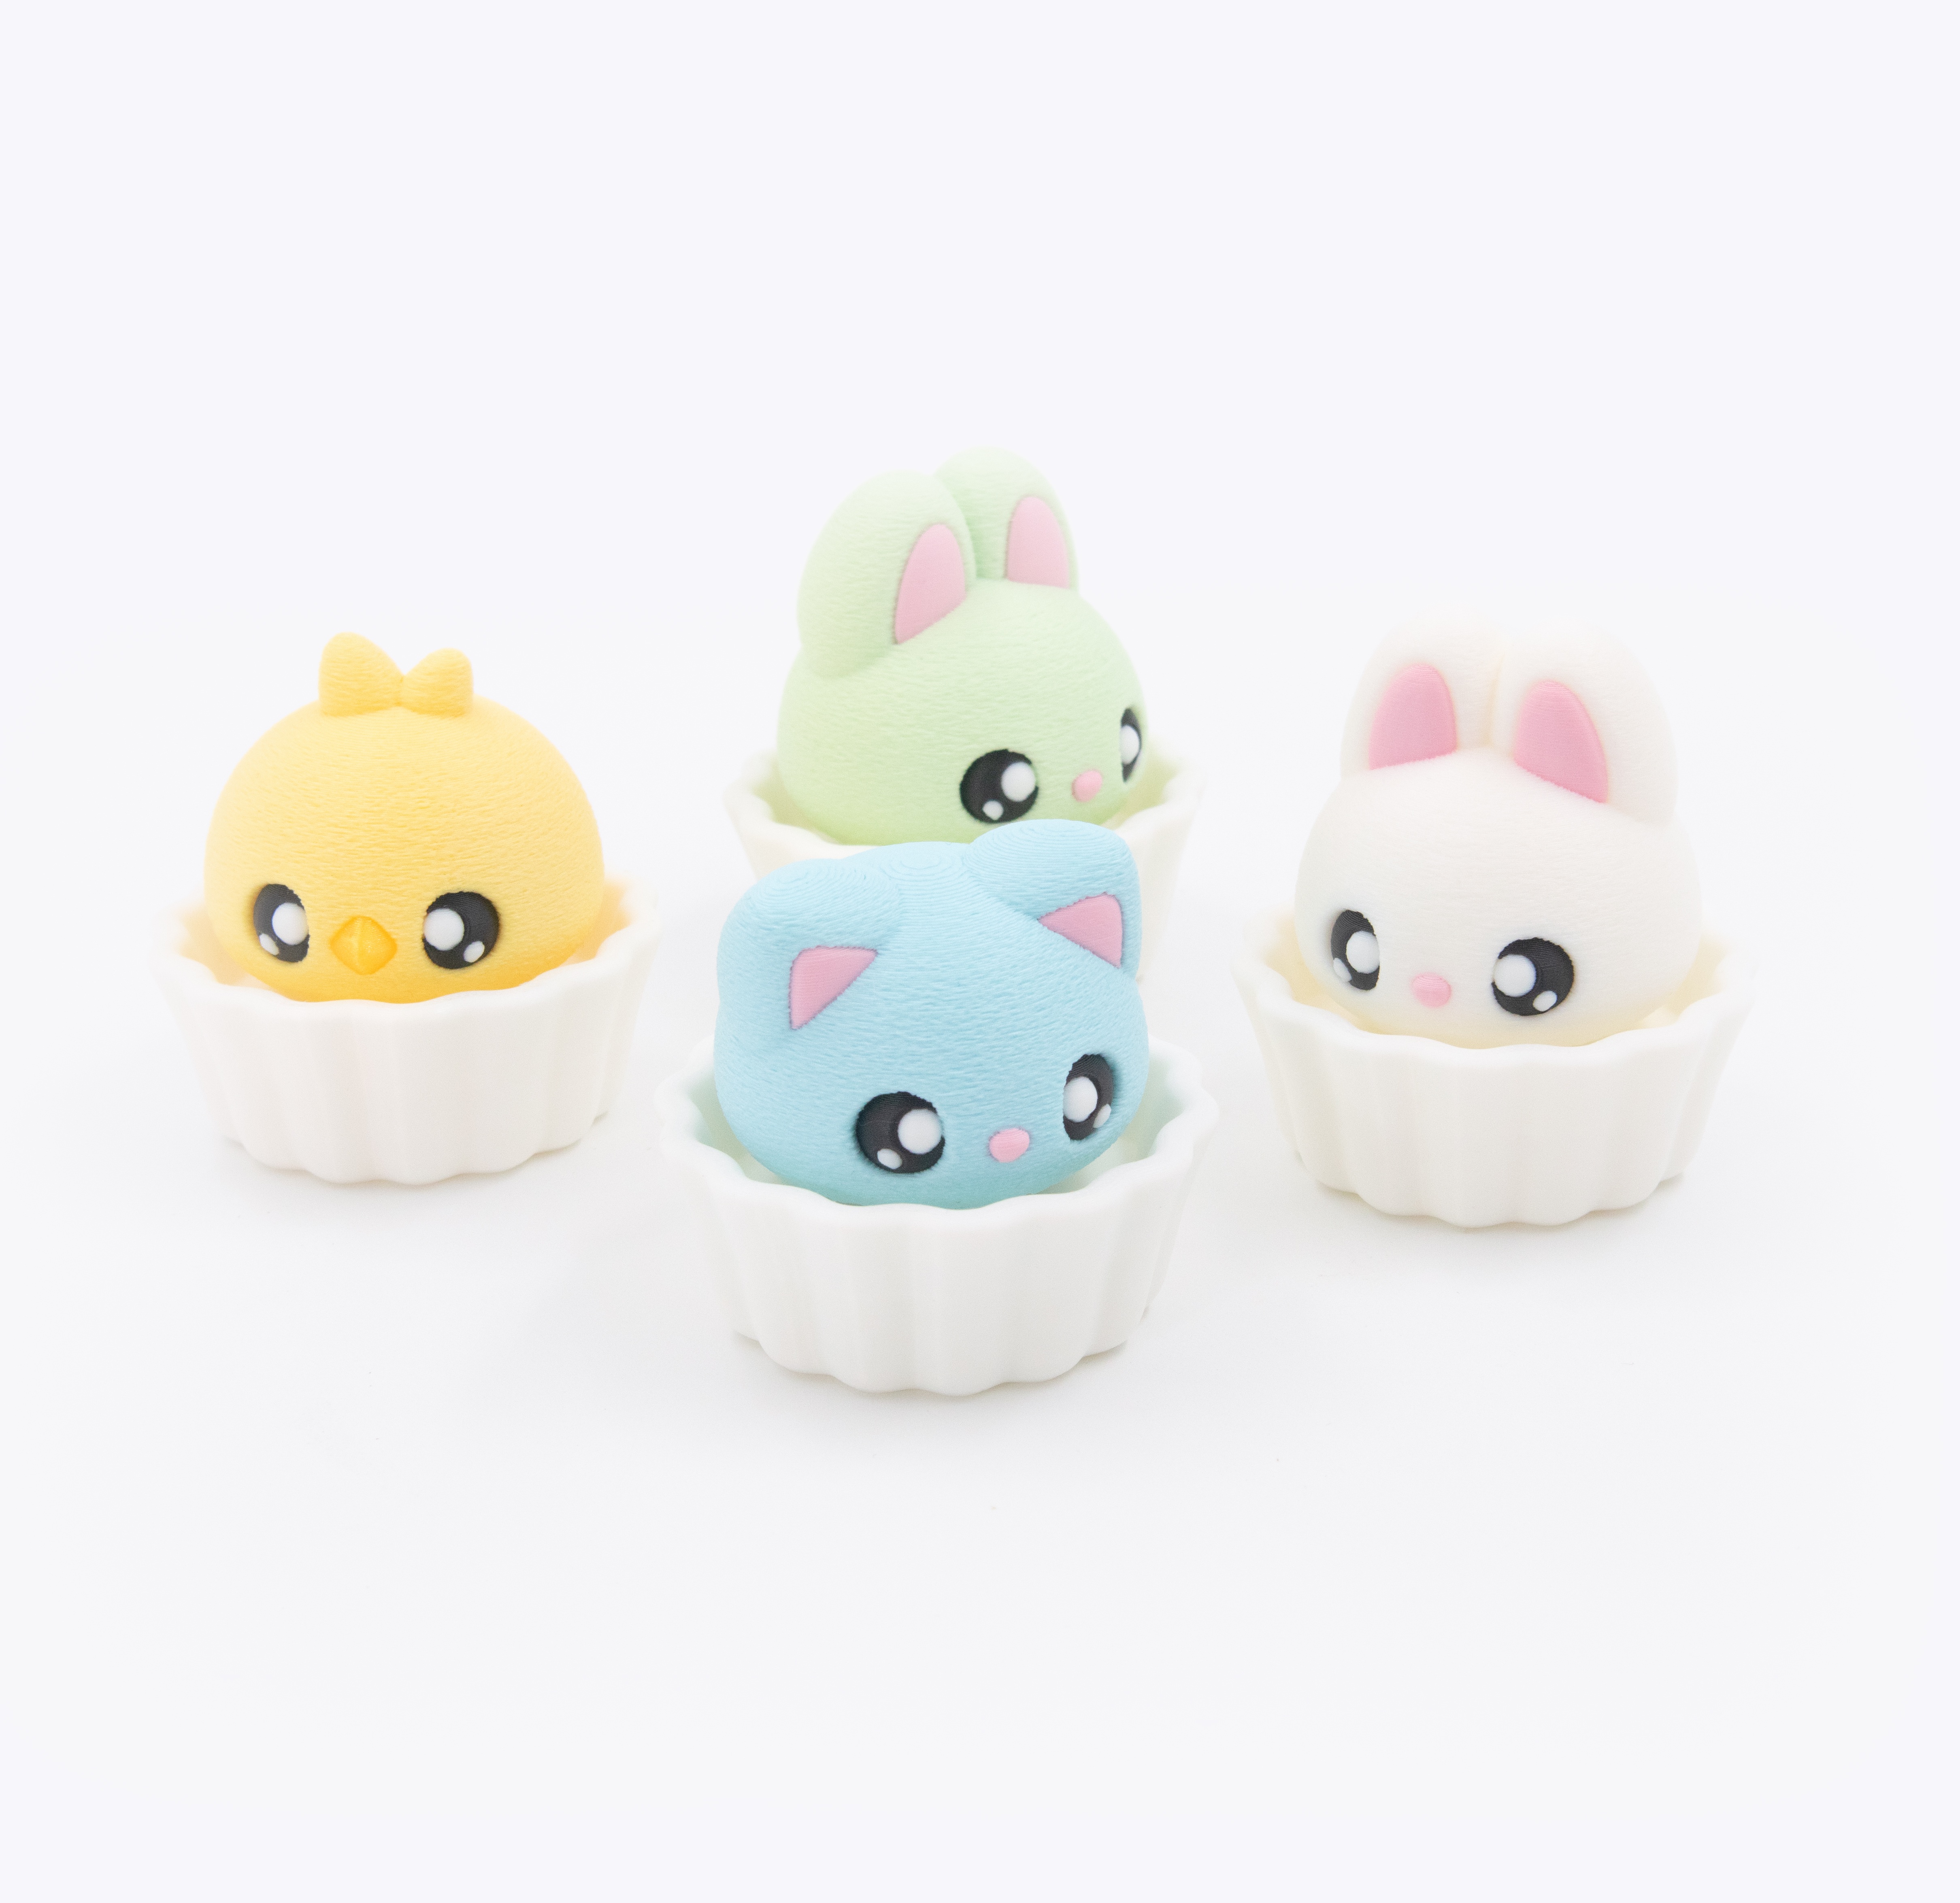
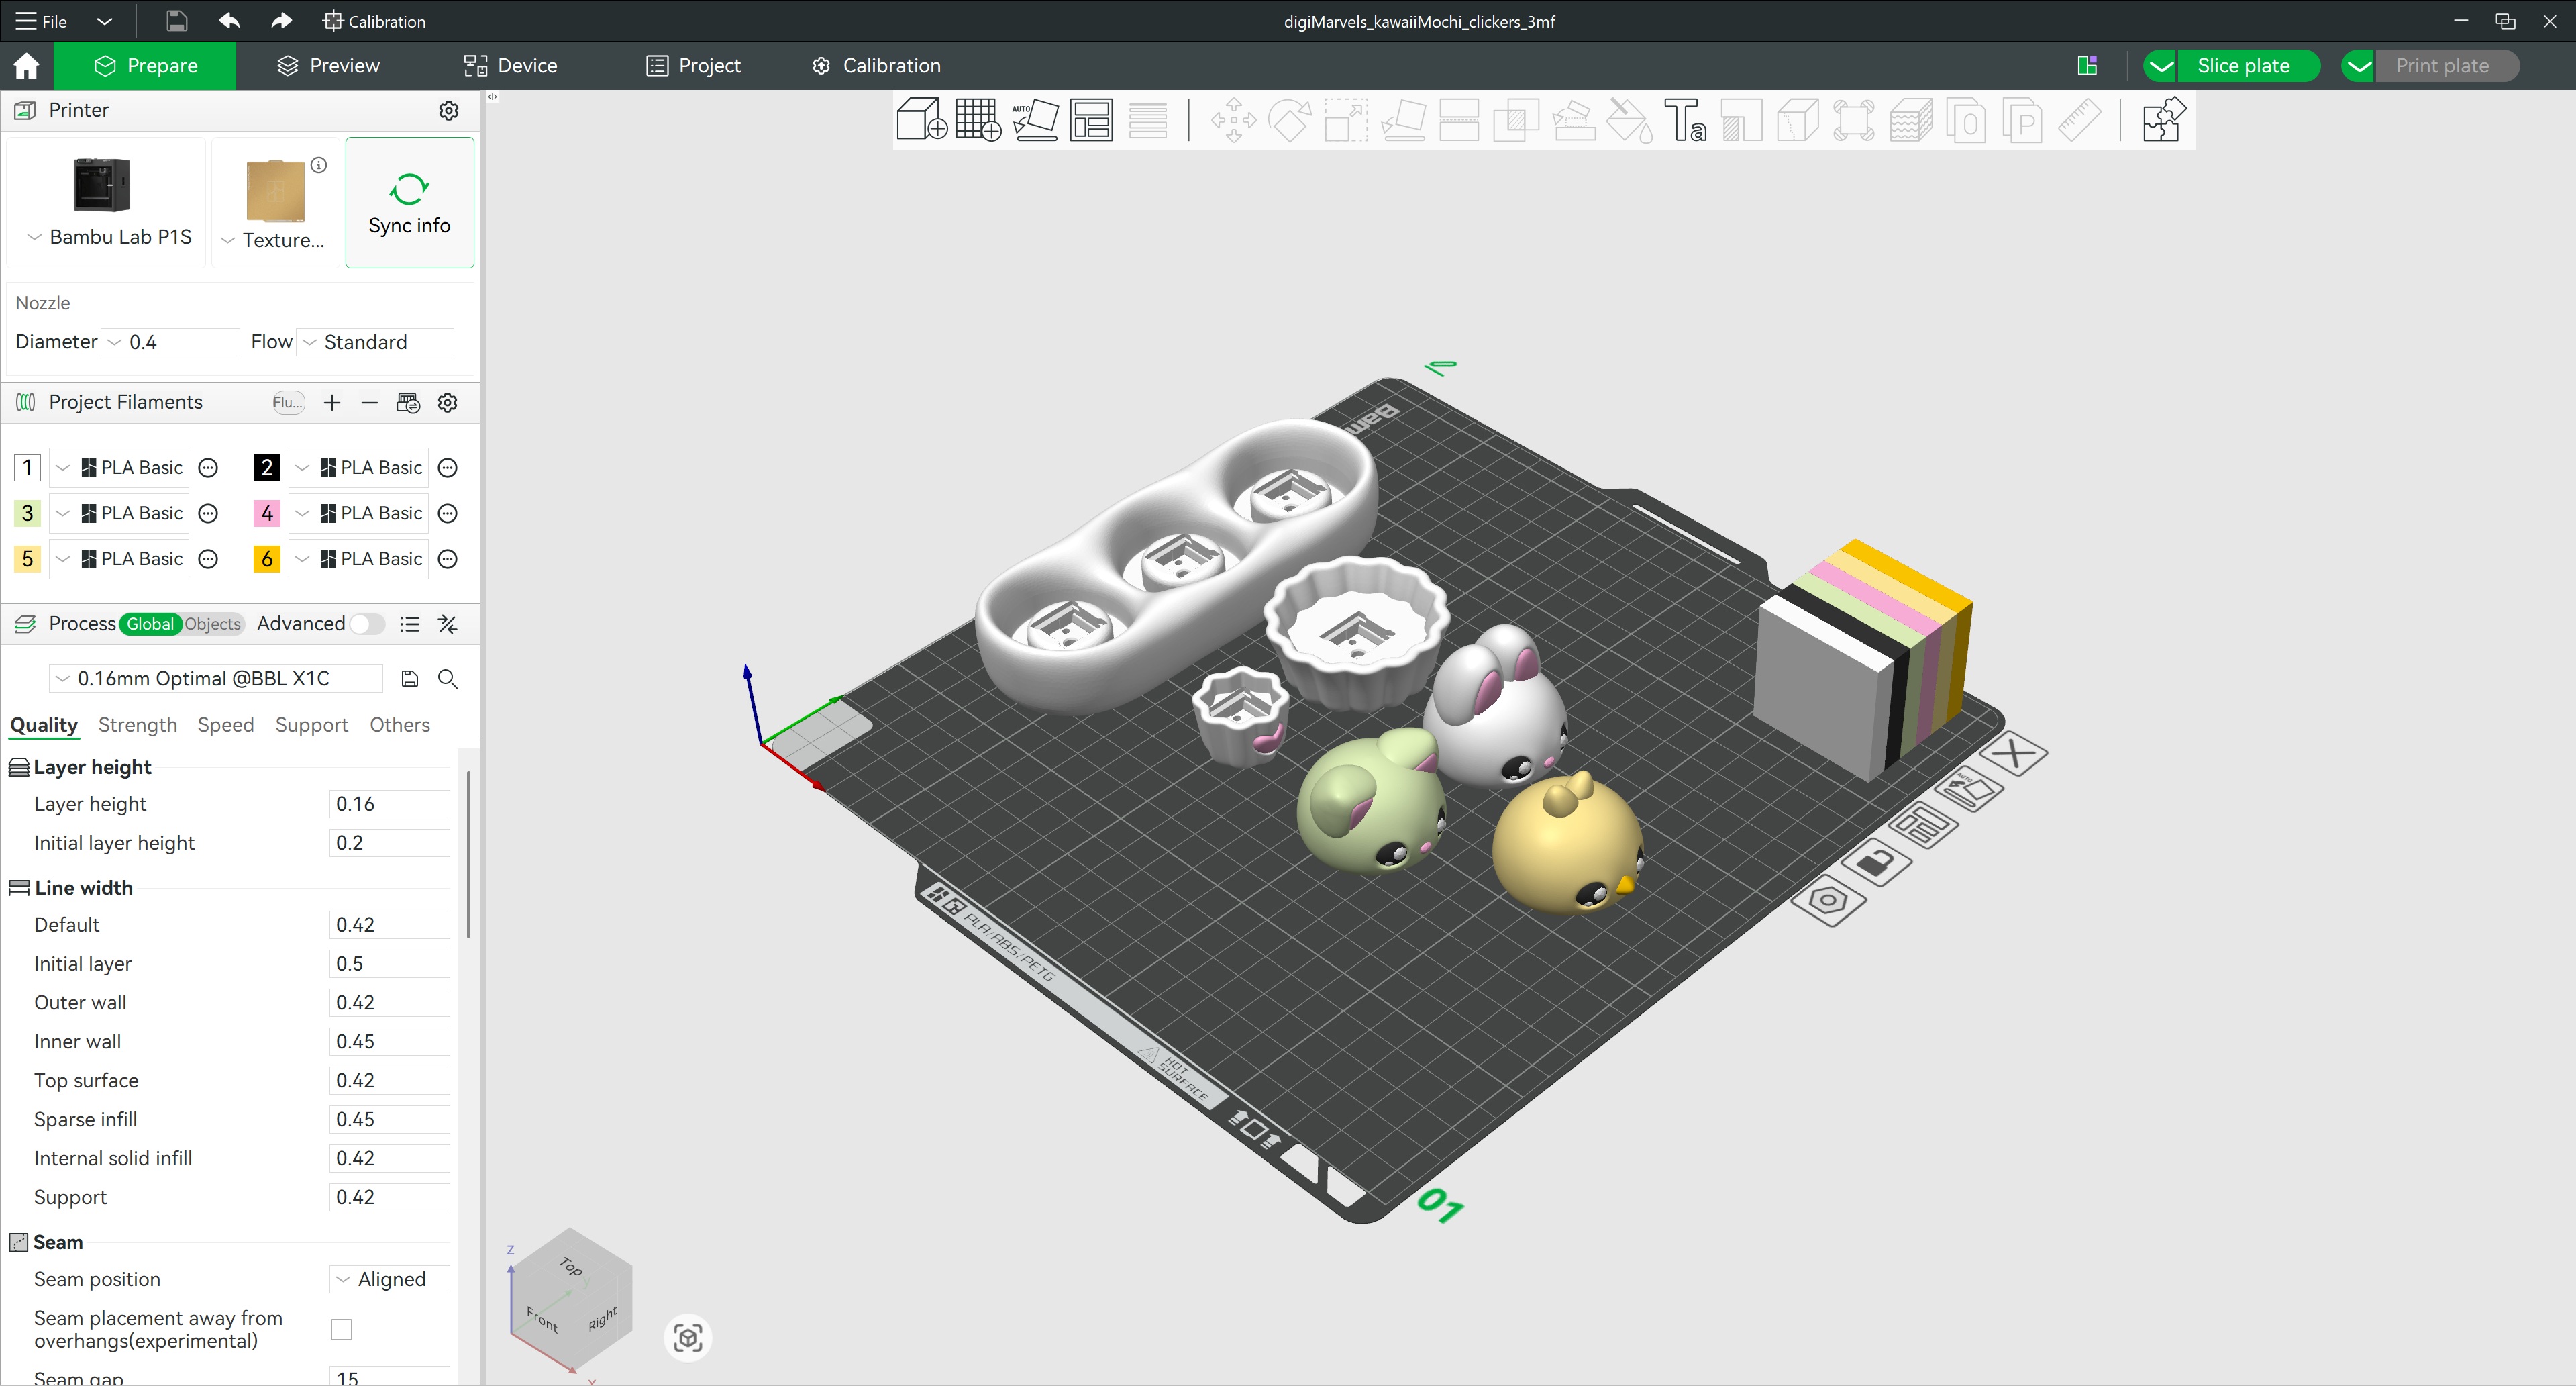
  • 6 STL Files — 3 bases (Cupcake, Mochi, Tray) + 3 caps (Cat, Chick, Rabbit)
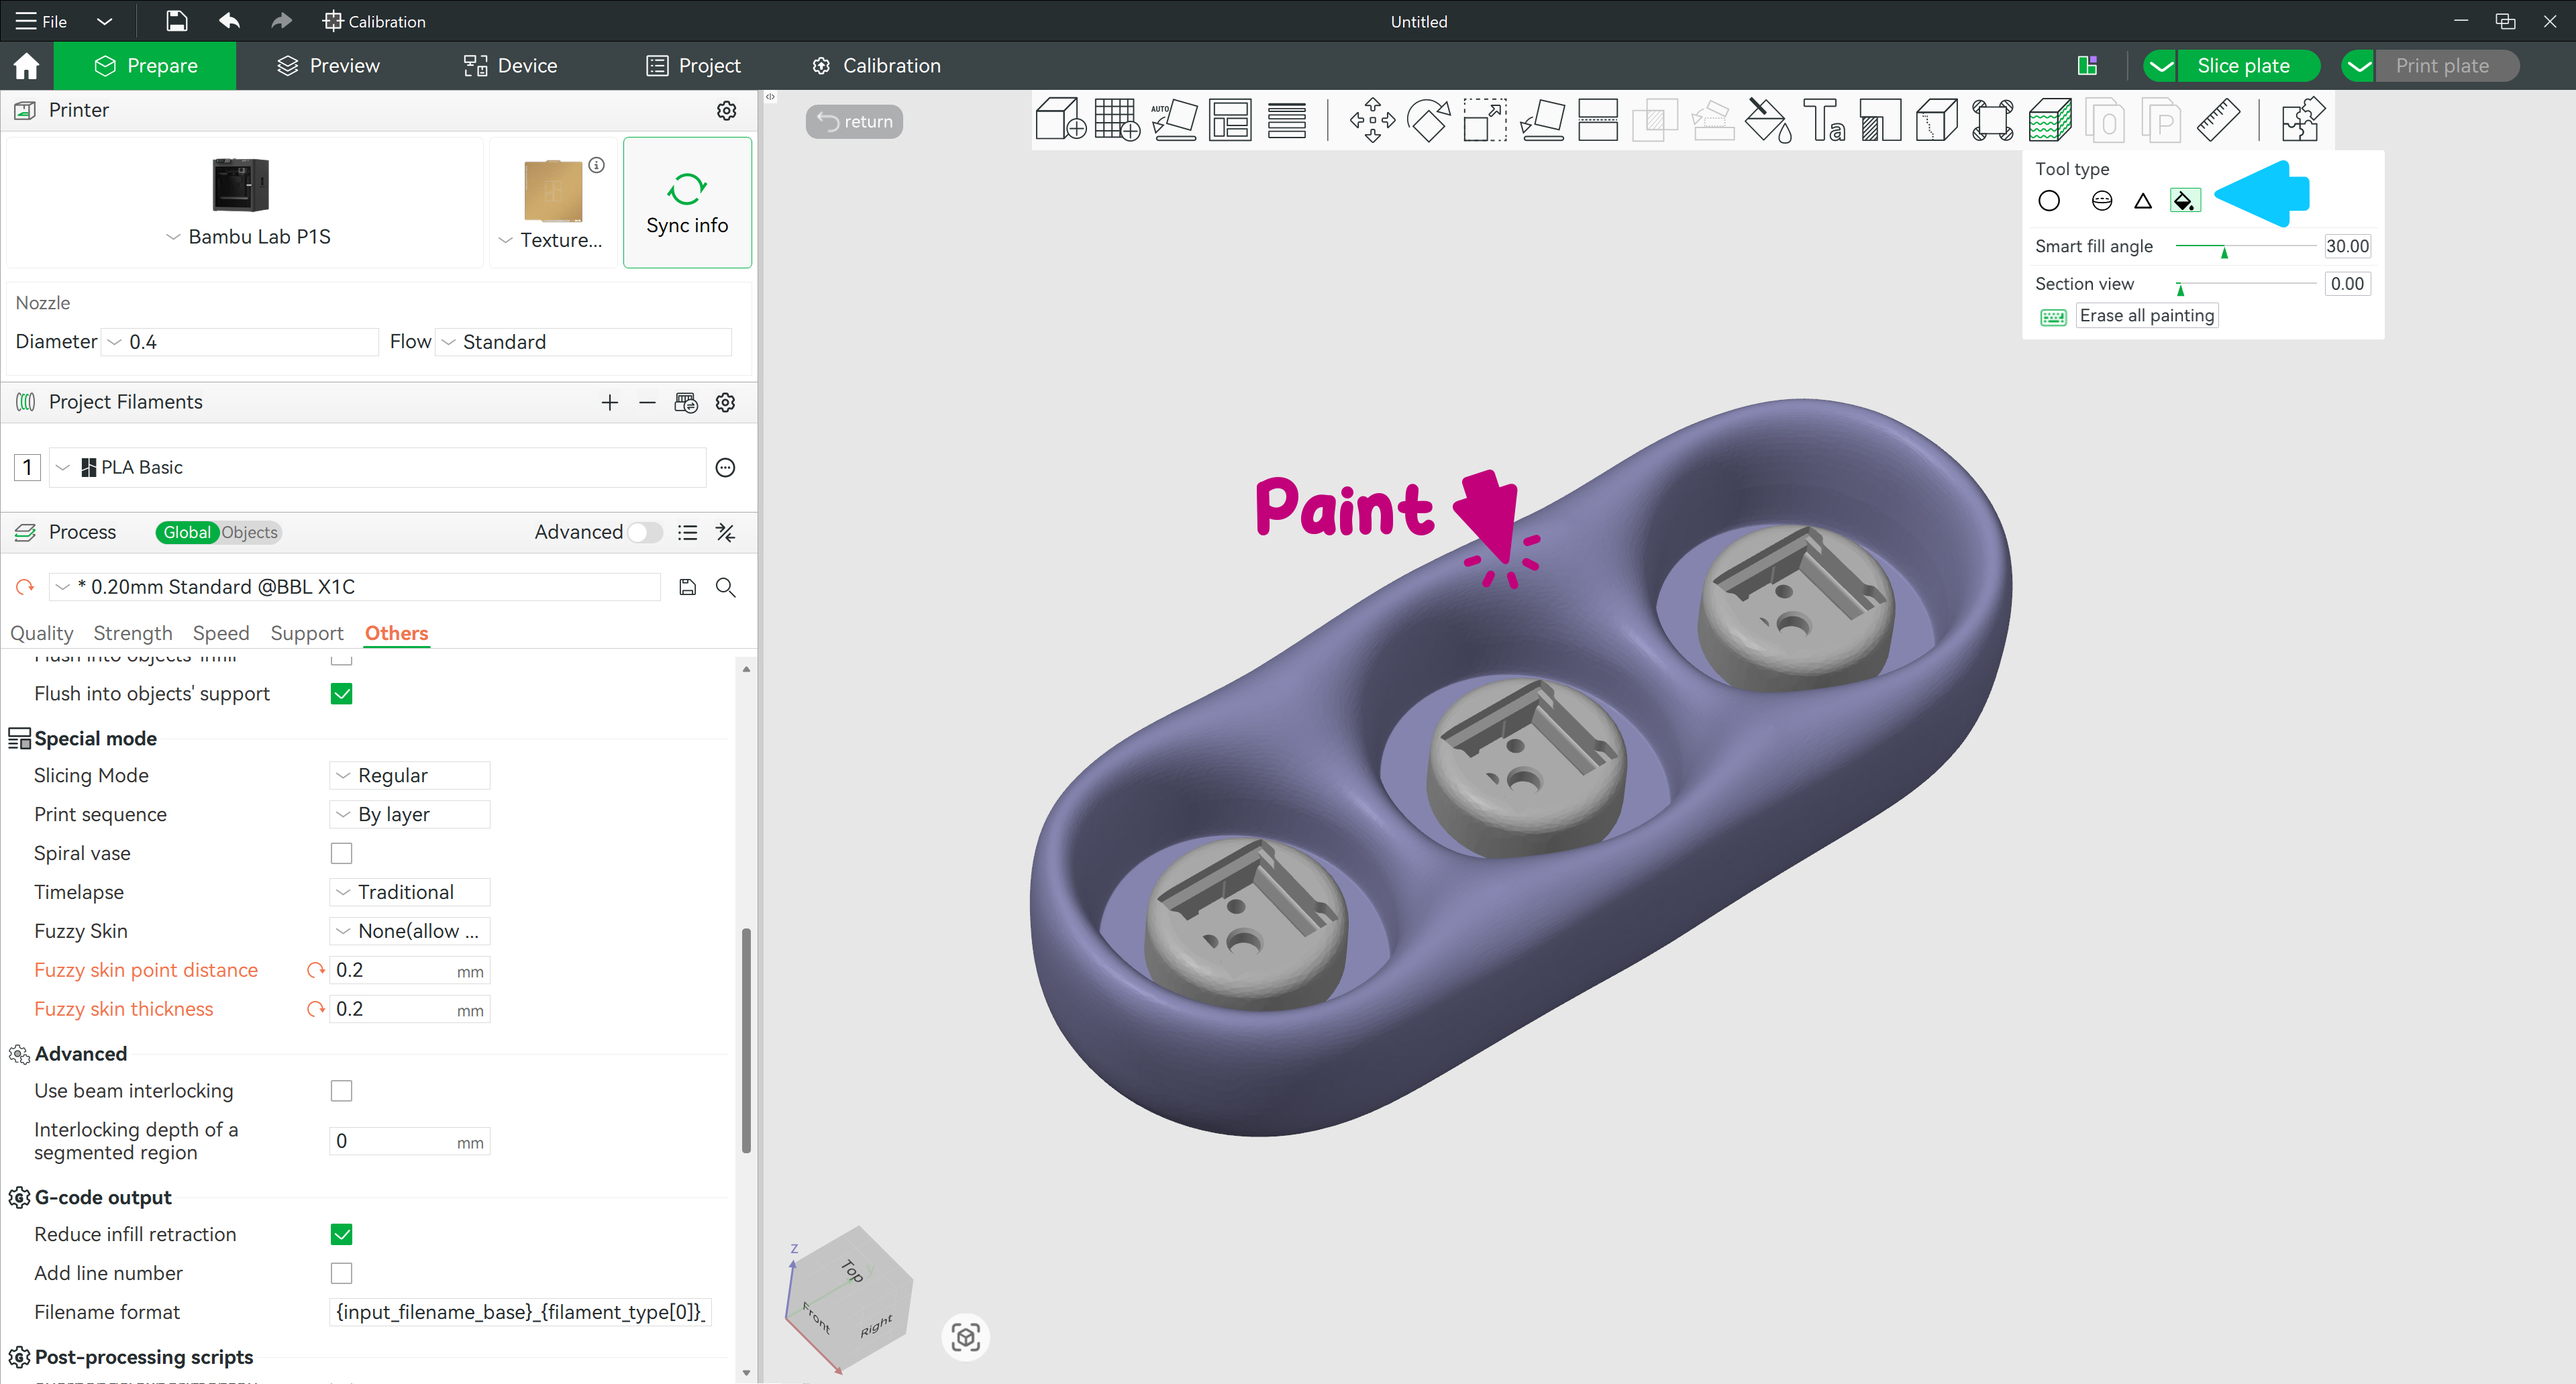
  • 1 3MF File — pre-arranged with colour assignments  ▾ preview
    3MF layout preview — Kawaii Mochi Clicker parts arranged in slicer
    Click to enlarge
💡 New to 3D printing? Each clicker needs 2 parts — pick one base and one cap to make your combo.
⌨️ Switch required: You'll need a mechanical keyboard switch — it's what creates the click. Tested switches: Kailh BOX White (crisp, loud), BOX Jade (crunchier, louder), BOX Brown (quiet).
🧁 Assembly: I recommend adding a small drop of super glue to secure the clicker parts. Insert the switch into the base matching the switch pins to the base holes, then place the cap on top.
⚙️

Printing Settings

Layer
0.16 mm
Infill
15% — Gyroid / Tray base: 10% Honeycomb
Walls
2 Loops
Material
Basic PLA
Supports
❌ None needed
Brims
Recommended
Fuzzy Skin
Contour · 0.2 mm point dist · 0.25 mm thickness
Tray base — painted · 0.2 mm point dist · 0.2 mm thickness  ▾ preview
Fuzzy skin painted setting for Tray base
Click to enlarge
🪲 Cap lifting? Add Brim Ears to the cap base or/and increase the bed temperature by 5 °C.
🎨

Filaments Used

Polymaker Polyterra PLA
Sakura Pink Cotton White Banana Yellow Mint Green Ice Blue Earth Brown
Bambu Lab Basic PLA
White Black
🎨

Editing Colours & Parts

⚠️ Do not scale the model — it will break the fit between parts and the switch won't seat correctly.
  • Open the 3MF file — parts are pre-separated with suggested colours
  • Assign filament slots to each part, then slice
  • Nose, beak, ear pinna and eye glares can be freely deleted or slightly rescaled to your liking
🤔 Not sure how to edit the 3MF? There is a step-by-step guide for you. See guide →
Happy Printing! 🐥